
Project notes · 13 set
Building a Robotic Arm Control System with ROS: My First Project
Introduction
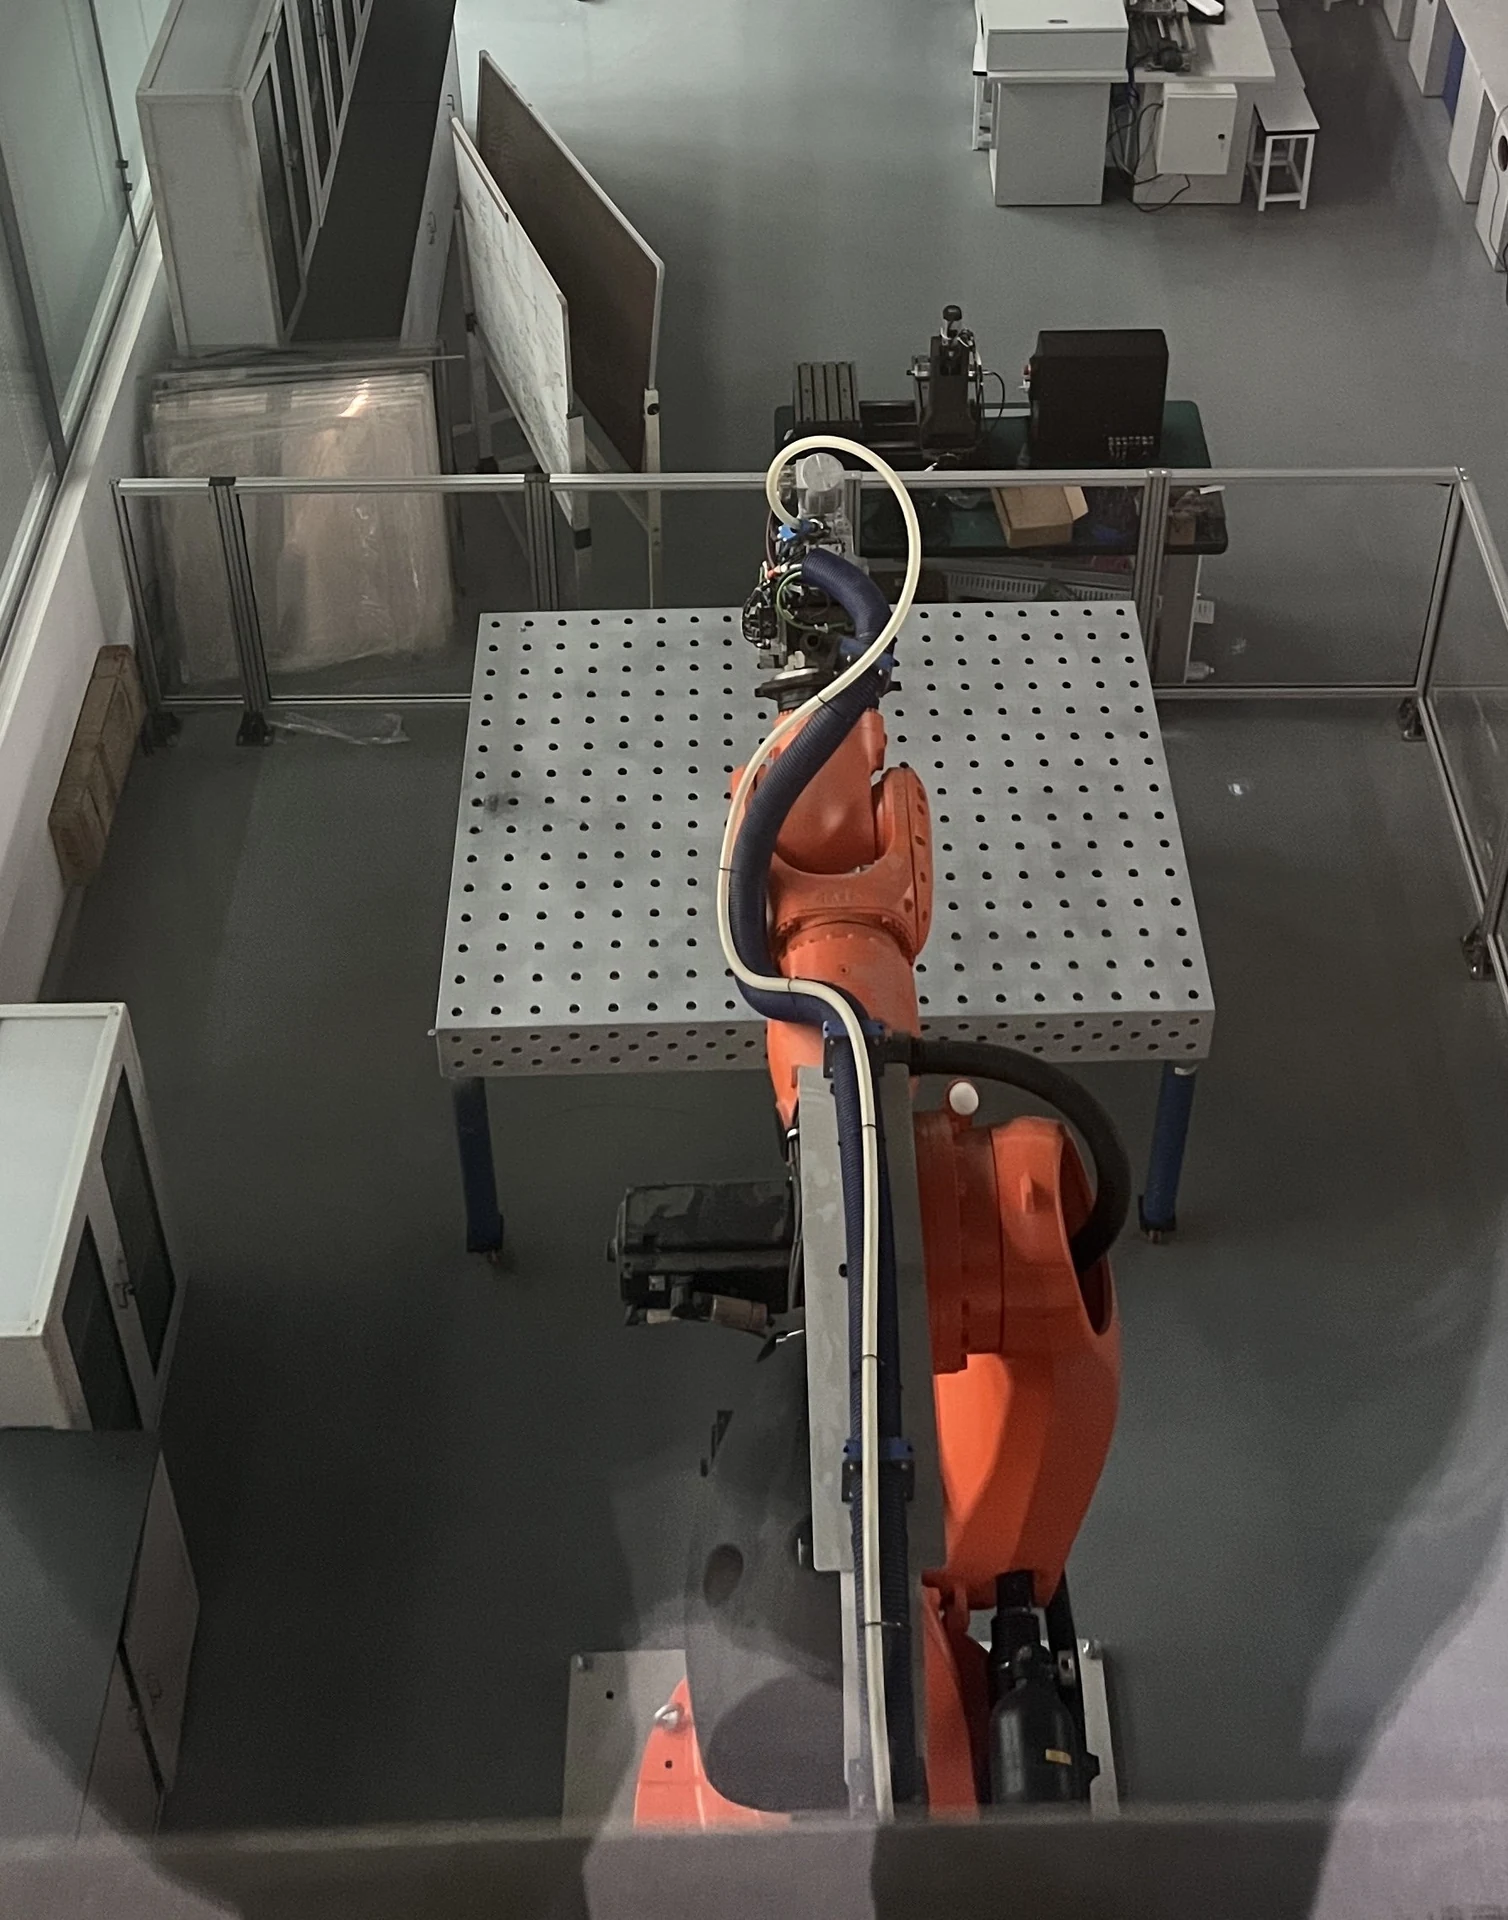
I've always been passionate about robotics, and I wanted to challenge myself with something practical: controlling a robotic arm using ROS (Robot Operating System). ROS is one of the most widely used platforms in the world of robotics, both in academia and industry. In this blog post, I'll walk you through my experience setting up a basic robotic arm control system with ROS, from installation to real movement!
Index
What is ROS and Why Use It?
Setting Up the Environment
Simulating the Robotic Arm
Programming Basic Movements
Challenges and Lessons Learned
Final Thoughts
1. What is ROS and Why Use It?
ROS (Robot Operating System) is not actually an operating system; it's a flexible framework for writing robot software. It provides:
Hardware abstraction
Device drivers
Libraries and tools
Message-passing between processes
Package management
I chose ROS because it's open-source, extremely modular, and supports a wide range of robotic platforms.
2. Setting Up the Environment
I used a Linux environment (Ubuntu 20.04 LTS) because ROS is mainly supported on Linux.
Steps:
Installed ROS Noetic:
sudo apt update
sudo apt install ros-noetic-desktop-full
Set up ROS environment variables:
echo "source /opt/ros/noetic/setup.bash" >> ~/.bashrc
source ~/.bashrc
Installed additional useful packages:
sudo apt install ros-noetic-moveit ros-noetic-joint-state-publisher ros-noetic-robot-state-publisherSet up Catkin workspace:
mkdir -p ~/catkin_ws/src
cd ~/catkin_ws/
catkin_make
3. Simulating the Robotic Arm
Since I didn't have immediate access to a real arm, I started with a simulation using RViz and Gazebo.
I chose a simple 6DOF robotic arm model (URDF format).
Launched the model in RViz:
roslaunch my_robot_description display.launchVisualized the joint states and frame transformations in real time.
Tip: If you don't have your own model, you can use open-source ones like UR5, Panda, or even simple demo arms.
4. Programming Basic Movements
I wrote simple Python scripts using rospy to control the arm.
Example: Publishing commands to move a joint
import rospy
from std_msgs.msg import Float64

rospy.init_node('arm_controller')
pub = rospy.Publisher('/arm_joint_controller/command', Float64, queue_size=10)

rate = rospy.Rate(10)
while not rospy.is_shutdown():
    pub.publish(1.0)  # Move joint to 1 radian
    rate.sleep()
Later, I integrated MoveIt to plan and execute more complex trajectories.
MoveIt simplifies inverse kinematics, collision detection, and motion planning.
I used the Move Group Interface to send pose goals instead of low-level joint commands.
5. Challenges and Lessons Learned
Understanding the ROS architecture (nodes, topics, services) took a while but was key to success.
URDF modeling: Defining a proper robot model is crucial for realistic simulations.
Latency issues: Simulated environments can lag — tuning update rates helped.
MoveIt configuration: The setup assistant is powerful but needs careful attention to frame naming and planning groups.
6. Final Thoughts
Controlling a robotic arm with ROS was an incredible learning experience. Even though I started with simulation, it gave me the foundations to move onto real hardware control. ROS made it manageable to handle complex tasks like kinematics and trajectory planning.
Next steps? I plan to interface this system with a real robotic arm and add computer vision integration to perform autonomous pick-and-place operations.
If you're thinking about getting started with robotics, I highly recommend building a project like this. The practical experience is invaluable and will open many doors in advanced robotics work!